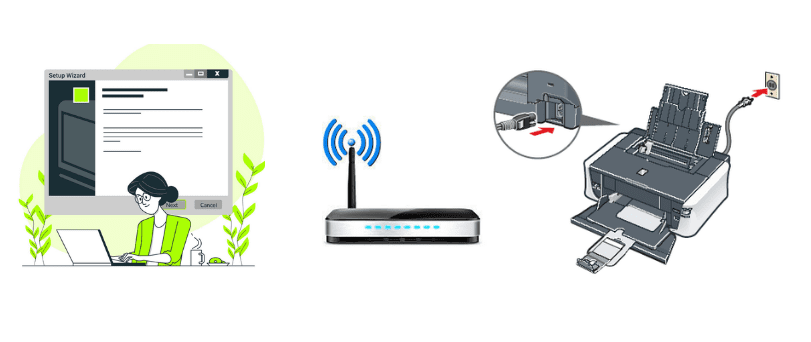
Getting problems while configuring canon printer with the wireless unit? If yes, then you are in the right place. This article contains detailed step by steps instructions that assist the user in setting up their canon printer with the wireless network. The users who are unable to configure the Canon printer with their wireless network can refer to this article.
Connecting canon printer with the wireless network is always beneficial. User can print their documents anywhere in the same network. There is no need to connect your device with the printer unit physically. There are different ways by using which users can set up a canon printer on the wireless.
Table Of Contents
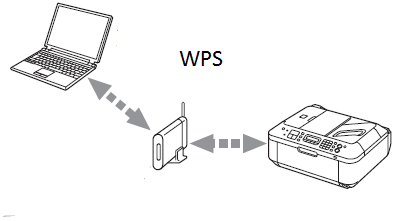
Setup canon printer with Wi-Fi by WPS method


With the use of the WPS button situated on your router unit, user can set up their canon printer unit with the wireless network. Users should place the canon printer unit and network router in the same room so it would easily connect.
All the below steps are helpful only if the user is having the latest canon printer drivers installed in their system. Users can install the latest printer drivers from the official canon website. Users can follow the given steps for configuring canon printer units with the wireless network.
- Plug in and switch on the canon printer unit.
- Press the wireless button on the printer unit the wireless LED on the printer glows.
- Wait for two minutes and then turn on the WPS button on your router unit.
- The router will start searching the wireless network while connecting to the network blue LED on the router will be on. Make sure that the power and Wi-Fi lights on your router unit glows and are stable.
- if both the LEDs of the router are on and stable means your router is successfully connected with your canon printer unit.
Check the printer connectivity by providing the test print from the computer device. Check the printer tray for the printing paper before giving the test print. if there is an error or no printing then fix the canon printer not printing issues using simple tips.
Setup canon printer with Wi-Fi by the standard method
If the user’s router does not have the WPS feature then the user can connect their canon printer with the Wi-Fi using the standard method. Users can refer to the detailed instructions about how to set up a canon printer on a wireless network.
Turn on your canon printer unit and the computer system. Make sure that they are connected properly. Some canon printers might need to connect with the router via Ethernet cable.
Check if the latest canon printer drivers for your printer unit are present on your system. Almost all the canon printers are come up with the software installation disk. Users can install the printer drivers from the software installation disk. If the software installation disk is not available then the user can download the printer drivers by visiting the official canon website.
User should connect their printer to the internet. Users can access the printer settings and select the wireless network to which the user wants to connect. Enter the network password on the printer’s LCD panel. Users can also refer to the user manual for detailed instructions on connecting the printer to the internet.
Connect your computer to the network. Make sure that your printer unit and the computer system are connected to the same network
Once your printer unit and the computer system are connected to the same network, the actual process of canon printer setup begins. Windows operating system users can follow the steps provided below to set up a canon printer on windows.
1. Press the Windows key or click on start from the bottom-left corner of your screen.
2. Click on the settings app with the gear icon from the tiles.
3. Go to the device options in the settings app.
4. Click on the printer and scanners from the context menu.


5. It will display all the printer devices connected with the system in the past. If your printer unit is not present in the list then click on ‘Add a printer or scanner’ link. If your canon printer unit is present in the list then the user doesn’t need to add the printer again.
6. Users can follow on-screen instructions to add their canon printer unit to the system. It might ask a user to enter the printer model number. The printer model number is written on the printer unit or the user manual.
7. Once the canon printer unit is added, the user can use their printer unit. If a window is unable to detect and add your network canon printer, then the user can try to connect your Canon printer with the help of a USB cable. After then add your printer to the system.
use you can login canon printer console using canon Printer default password and checkout its settings from there.
In the same way, the user can configure canon printer units on the Mac operating system. Here are the steps which assist users in How to connect canon printers to wifi network.
Setup Canon Printer Using Mac Computer
- Click on the Apple menu (Apple icon) which is situated on the top-left corner of the window.
- In the drop-down menu, click on the system preferences option.
- Go to the printers and scanners option.
- It will open the list of connected printer devices. Check the list for your printer. If your device is already listed here you don’t need to add it again. If it is not present then click on + icon to add your canon printer unit in the system.
- Once the user clicks on the + icon, Mac will automatically detect the connected printer unit user can select it.
Follow on-screen instructions to add the Canon printer unit to the system.
- If the system unable to detect your printer then the user can connect their printer to the system via USB cable and try to add the Canon printer unit in the system.
- In this way, the user can set up their canon printer unit on Mac operating system. Users can check the printer connection by providing the test print.
to get more information for canon printer setup go to the official website https://support.usa.canon.com/kb/index?page=content&id=ART162679 and see if you can get more help.
Hopefully, this article assists the user’s in the configuration of their canon printer on the wireless network. Users can feel free to contact us in case of any problem with the above steps.
Install Canon Printer Driver-
- insert the CD or download the setup from Canon Website Visit canon.com/ijsetup and download the canon driver.
- run the driver setup and click next on the setup page. select your country and accept the terms and conditions.


The printer and the router should detect each other, so then you go into your laptop and go Start > Device and Printers > Add a printer > Wireless Printer. It should detect it, and work. (Instructions for Win 7)
Go to the printer’s setup
Turn the printer on and press the “setup” button. On the printer’s operational panel select “Wireless LAN Setup” and press “Ok.”
Select setup type
Select “Easy Setup” from the available setup options and press “OK.”
Enter network information
Select the network name from the access point options and click “OK.” Enter the password for the Wi-Fi network selected within the operational panel and click “OK.”
Run the CD installation
Insert the setup CD into the computer and click “Run Msetup4.exe” and click “Next.” Follow the on-screen prompts, such as selecting the place of residence, country or region and then click “Easy Install.”
Select printer
From the installation screen, select “Use the Printer on Network” option and click “Next.” When the printer detection screen appears, click “Next” and select the printer from the list before clicking “Next” again.
Complete setup
Once the setup completion appears, click “Complete.”