In order to setup HP wireless printer for the first time, you need to remove the HP printer and all the other packing material from the box, plug in the power cable, set the printer settings via the printer console panel, remove the packaging from the ink cartridges, install them, load the paper sheets in the input tray of the printer, and set up the connection method of your printer.
For Hp Printer Setup You must Follow 3 Keys Steps –
- Unboxing & Making cable connections
- Hp Printer Setup download and installation
- Printer Wireless setup & configuration
Table Of Contents
Unpack your HP printer
- Remove the packing materials and tape from outside of your printer. In case, if you have an All-in-one printer make sure you remove all the packing and tape from the scanner glass as well.
- Now, remove all the packing and tape from inside of the printer near the ink cartridges and paper input tray of the printer.
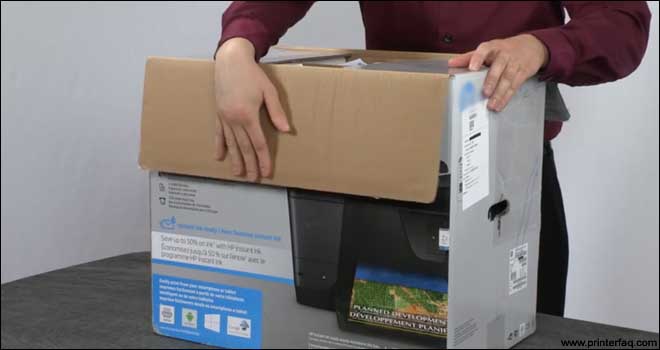

- Plug the power cable of the printer between the wall socket and your printer, and turn your printer power on.
How to perform HP Printer Setup
- Now, set the time, date, language, and country/ region by using your printer’s control panel. Skip this process if your device does not have a printer control panel.
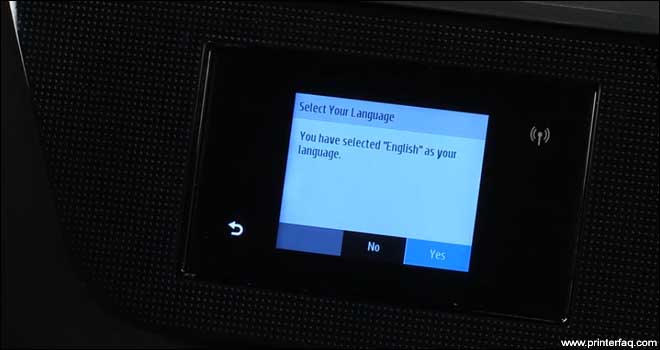

- Install the ink cartridges and align them:
- Open the printer ink carriage access door.
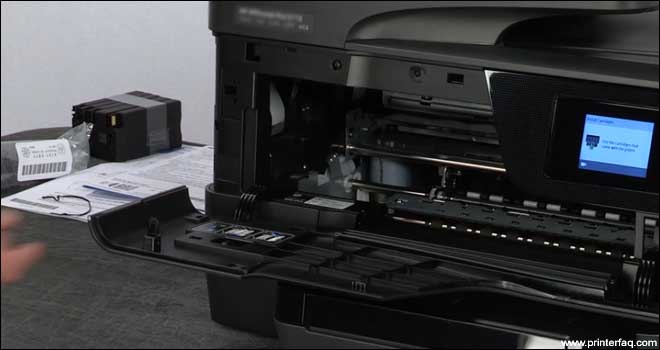

- Wait for the carriage to become idle and silent before you install them
- Remove the protective tape covering from the ink cartridges before inserting them in the carriage.
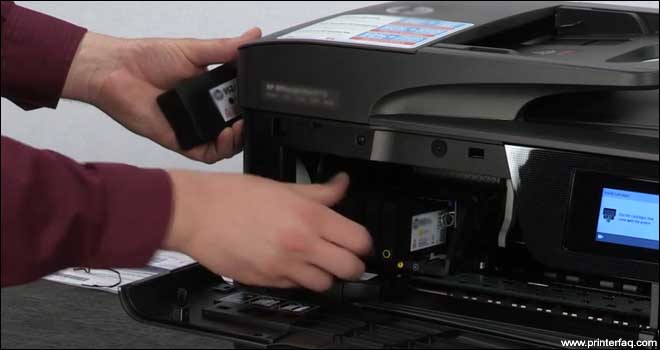

- Close the ink cartridge access door and follow the steps and instructions on the printer.
- After installing the cartridges, your printer will automatically print an alignment page.
- Now, look at the alignment page and follow all the instructions to complete the installation of ink cartridges.
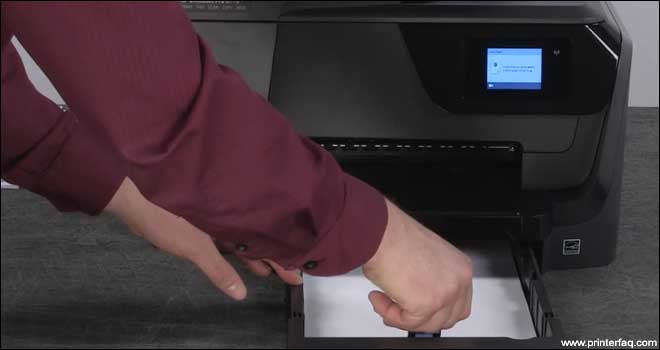

- Load the paper stack into the input tray: Now, load a stack of white plain paper in the input tray of your printer depending on the type of printer you have and push the paper until it stops. Gently, adjust the paper width guides until they lightly rest against the edges of the paper stack.
How to Connect Hp Printer With Wifi
Now, we will discuss installing and setting up the wireless connection of your HP printer:
Before you start the setup, we have to make sure that your printer is connected to the wireless network that you intend to connect with your printer.
- First, you need to connect your printer to the same wireless network that your computer is connected with.
- Tap the wireless icon on the home screen of your printer’s control panel.
- Click on the wireless menu and select “wireless setup wizard” on the wireless menu.
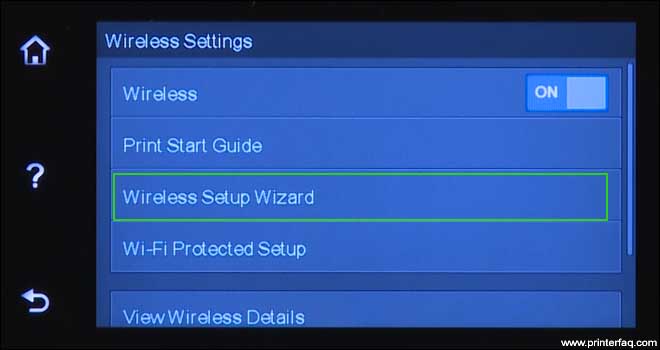

- Your HP printer will now retrieve the network information of wireless networks at home and it will display the list of active wireless networks around the printer.
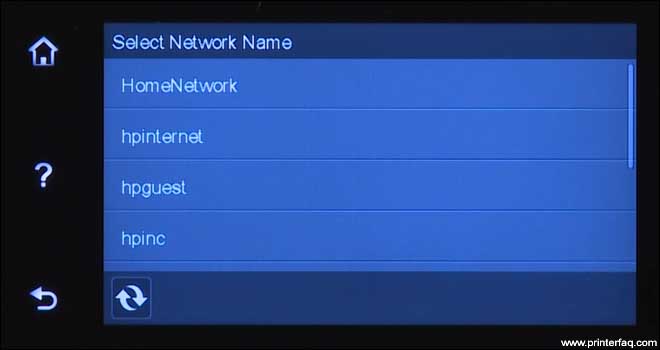

- Select your wireless network from the list that you use at home to connect your wireless devices too.
- It will now ask you for the network passphrase for the SSID (network name) that you have selected earlier and hit “ok”
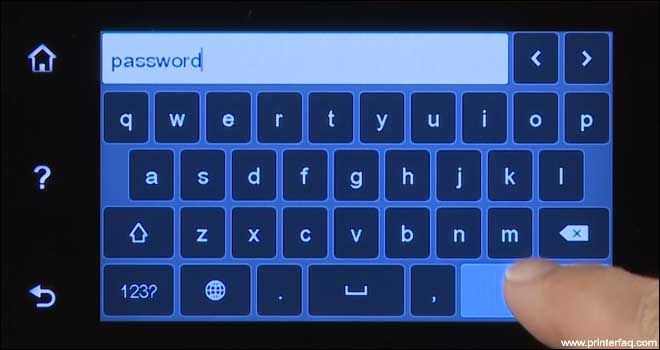

Now, the printer will attempt to establish a wireless connection with your Wi-Fi network and it will show you a countdown on the printer panel until it gets connected successfully.
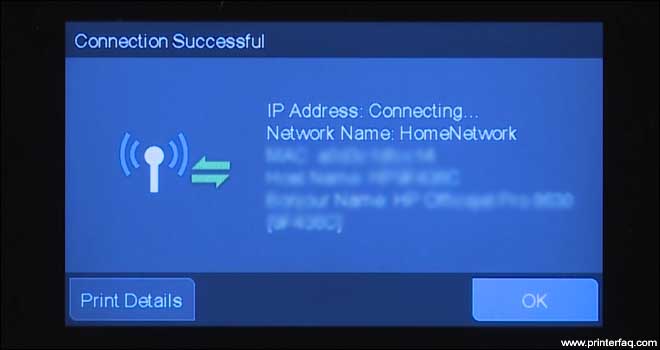

- Once the printer is connected to the network successfully, a window will show up that displays you a green checkmark on the printer display which means the printer has successfully established a wireless connection with your Wi-Fi network.
- it will also show you the information of your network status, channel, and the SSID of the wireless network. You need to click “ok”. Your printer is now hooked up to your wireless network, and the wireless indicator at the control panel lamp will be lit up.
also You can find wps pin on hp printer and connect the printer to wifi using the WPS method.
- You can locate and find out the printer’s IP address and SSID network name by hitting the wireless icon located at the home screen of your printer control panel.
- This network information will be required later on when you will be connecting your computer or any other wireless-capable device to the printer, so we suggest to that you write all this.
How to Download Hp Printer Driver and Setup Hp Printer
- information down on a piece of paper and save it somewhere where you can easily find it.
- Now, you can start installing your HP printer by loading the drivers’ CD that came with your printer into your computer’s CD or DVD ROM.
- in an older printer, You would need to navigate through the content on the CD and find the setup.exe file and double click the setup.exe file to launch the printer installer. these days CDs don’t come with the printer so you might have to download hp printer driver and manual online From https://123.hp.com/ and run the application to start the hp printer setup.
- Once you run the installer, it will give you a prompt to confirm if you would like to check online automatically for the latest updates.
- Click “yes” and the software will check for software updates at HP.com and a confirmation dialog box will appear. Tap “ok” to continue the installer.
- The software installer will initiate by checking the installation requirements.
- When it is finished, the software selection window will be displayed and you need to hit “next”.
- Click on “I have reviewed and accept the installation agreement” and tap “next”.
- Now, the printer software will be prepared to install and set up and this may take several minutes to complete.
- Click “next”.
- Now, a connection-type window will display. You need to select “help me set up first-time wireless connection”.
- Hit “no” on I will type the wireless settings manually and click on “next”.
- It will now take a few minutes for the installer program to search your local network for available devices.
- A list of discovered devices will be displayed on the network products found screen.
- Select the printer that matches the IP address of your printer whose IP address you write on a piece of paper earlier. Click on “next”.
- Now, wit while the software installation progresses as this may take some time to complete.
- When the installation is completed, you can then configure your printer by choosing both of the options shown in the box.
- Click on “next” to continue further.
- Wait for the configuration to complete and follow the onscreen instructions to complete your printer’s registration process.
- Click “Finish”.
The printer software installation has been completed and you can now go ahead and print With wireless.
in case if you see your hp printer offline or not printing then it’s best to uninstall the driver and give it one more try. Remove any other printer software to avoid any software conflicts.
Please Comment and Do let us know if you need any other help hp printer setup and wireless connection.
Thanks for reading.
