Logging into Rockspace range extender will help you configure the settings of the extender. If you don’t know how to login to Rockspace range extender then this article will be helpful to you. In this article, we will be discussing how you can log in to Rackspace Range Extender & setup it up with the existing wifi network.
Table Of Contents
What Are The Requirements?
- You will need your Rockspace extender and the router with you.
- ID and password for the extender’s dashboard login. It will be available to you on the box or below the extender. If you have changed the password then use the one that you have set.
- Compute or mobile with browser.
Setting Up Rockspace Range Extender
Setting up Rockspace range extender is easy. Follow the steps given below to set up the rockspace range extender.
Using WPS Method
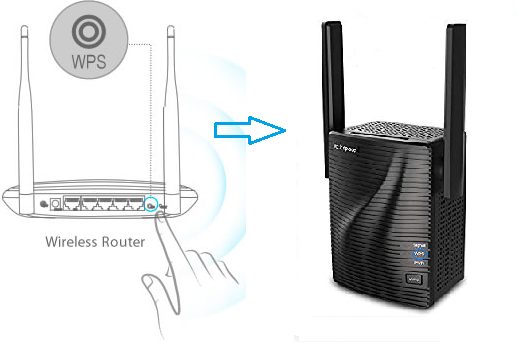
- Turn on the extender. Connect it to the power socket and turn on the plug. Then wait for the led light to turn blue. Make sure the wifi router and the extender are in the same room for the setup process.


- Once the LED light has turned blue press the WPS button on the router. Now, wait for the repeater signal LED light to turn blue. Ensure that you press the WPS button on the extender within 2 minutes of pressing the WPS button on the router.
Now you can unplug the extender and place it in the new location. Make sure the distance between the extender and the router isn’t too much.
Setting Up Using Ethernet Cable
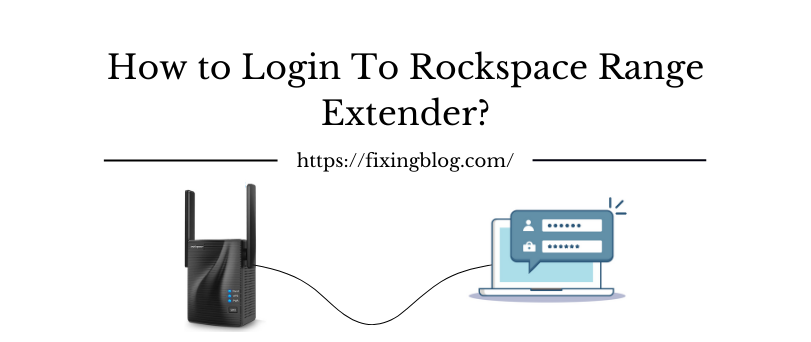
- Use an Ethernet cable to connect your wifi extender to your computer.
- Now open the web browser on your computer, and enter the login page of the Rockspace extender. Enter any of the URLs http://192.168.0.254 or re.rockspace.local in the address bar of your web browser.
- Now you will see a login page open up. Enter the login credentials which you will find on the box of the Rockspace wifi extender. Upon logging in, you will enter the extender setup page.
- Now click on the extender option to get ahead with the setup process.
- Follow the on-screen instructions that you see, and you will be guided on how to set up the wifi extender. These on-screen instructions will help you with setting up the wifi extender.
- Next, click on the save button to apply the changes.
- Once you are done you can shift the extender to a new place. Unplug the Rockspace range extender and bring it to the new location. Make sure the place you will be keeping your Rockspace range extender is halfway between your wifi router and the dead network spots.
- Now plug in the extender, and connect your device to the extender. Check whether the internet is accessible in the dead network spots from the extender or not.
Steps To Login To Rockspace Range Extender
To login to the Rockspace Range Extender follow the steps given below.
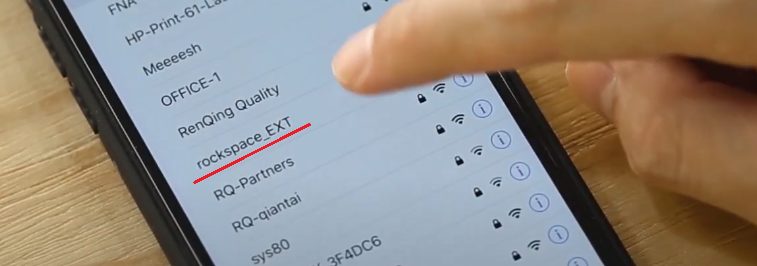
- Connect your extender to your computer or mobile. You can connect the extender with wifi to your computer or mobile. Open wifi on your computer or your mobile, and then search for the wifi network “rockspace_ext”. Now connect to the wifi network of the extender.


- Once your device has been connected to the wifi network, open your web browser. On your web browser enter the URL http://192.168.0.254 or http://re.rockspace.local. Now you will see a login page open.
- Now enter the login details into the login form. Once you have successfully entered the ID and password.
- You will be logged in into the dashboard of the Rockspace Range Extender. From here you can easily tweak the settings of the extender that you are using.
- You can easily customize the settings, and change the password, name, and security of the network.
Final Words
These were the steps to help you set up and log in to the dashboard of the Rockspace Range Extender. If you are facing any problem with logging in, you can try contacting the customer support of Rockspace, and they will assist you with your query.

